Composting is the most effective way the average household can reduce their waste. It creates a tremendous soil conditioner that can really help your gardens grow.

Getting Started

You'll Need:

  • Kitchen collection pail
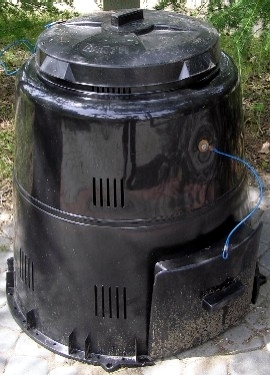
  • Compost bin
  • Convenient spot
  • Fluffing tool
  • Easy source of water
  1. Put the bin in a convenient spot.
  2. Fill the bin one-third full of Browns.
    Browns: Autumn leaves, shredded paper, paper towels and napkins, lawn rakings, etcetera
  3. Collect fresh kitchen scraps – these are the Greens.
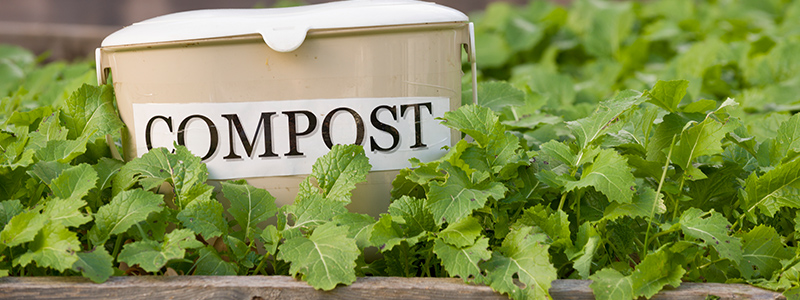
    Greens: Fruit and veggie bits, coffee and tea waste, mouldy leftovers, juice, hair, etcetera
  4. Find a collection pail. Most folks keep a pail under their sink or a pretty container on the countertop, but others collect in their freezer. Line it with paper.

Once a week:

Aerate: Fluff the pile to keep it smelling fresh.

Add: Bury your Greens in the Browns. If the Greens are all in one lump, make sure to break it up. Mix the kitchen scraps down into the Browns and make sure they’re covered. Rinse your container and dump the water on the pile.

Keep it Moist: As wet as a wrung-out sponge. Dry piles stop working. Too much water may cause odours. To correct this, aerate.

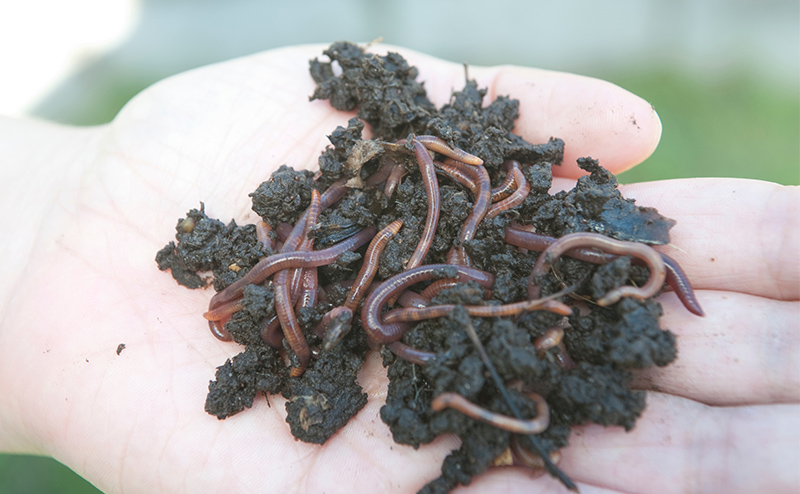
Heat is good: Composting creates heat. It's not essential but it helps.

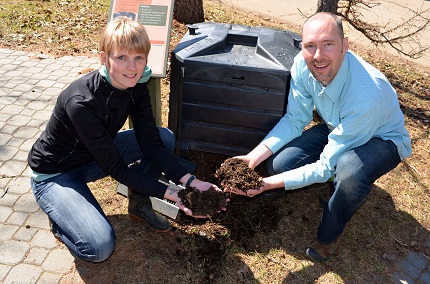
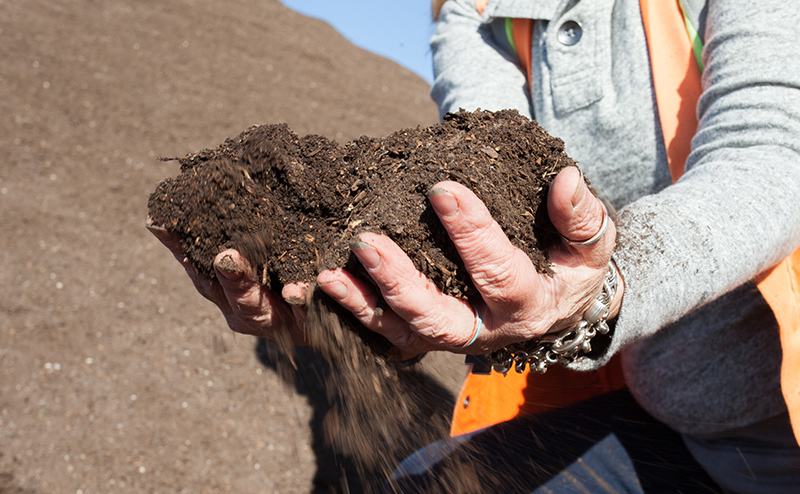
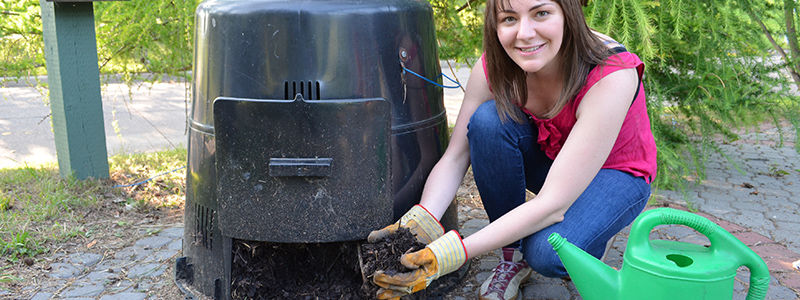
After a few months you can take finished compost from the bottom of the bin.

Earth Machine

Find a Composter

Composting can be done in an open pile or in containers. Containers confine the compost pile and make it more manageable and visually attractive. They can also provide weather protection, aid in heat retention and help keep animals out.

Composters of various design and composition (wood, recycled plastic, wire mesh) are available from local hardware stores and garden centres.

  • Dark coloured bins absorb solar energy and help in winter
  • Tumblers can be hard to tumble when full
  • Wood bins can wick moisture and be more work to maintain
  • Wire mesh bins are lightweight and easy to build, but dry out fast
  • Portable bins are convenient for folks with vegetable plots
  • Trench composting is easy in raised beds

Working composters are on display at Compost School.

Do It Yourself Composting Bins

Compostable Materials

Compost Materials

Start with easy material like this:

  • Yard and garden material (such as grass clippings, fallen leaves, flower and vegetable waste, small twigs, straw, hay, snow)
  • Kitchen scraps (such as fruit, vegetable peelings, tea bags, coffee grounds, egg shells, spices, vitamins)
  • Bathroom items (such as cotton balls, hair and nails, toilet paper rolls)
  • Home office (such as shredded paper, wrapping paper)


Not Too Much

As you get better at composting you can try adding more challenging material. Take your time - too much of anything will cause a problem. Use only small amounts of:

  • Meat, fish, or bones
  • Fatty or oily foods
  • Cheese and dairy products (these attract animals, create odours and take longer to break down)
  • Weeds with seed heads or persistent roots (for example, quack grass)
  • Diseased plants

Just Say No

Here are some items we suggest you avoid completely:

  • Dog, cat and human feces
  • Stems with fungal disease
  • Medication
Maintaining your Composter
  • Add fresh materials often. Be sure to mix the new materials with at least the layer just below the top
  • Turn your pile once every week or so. Water vapour may be visible as you turn it - evidence that heat is being produced. High internal pile temperatures will help destroy weed seeds, pathogens and insect eggs (though it's less risky to simply keep weeds out of the pile). Turning will also refluff the pile and bring materials from the outer part of the pile into the centre to enable more even rates of decomposition
  • Monitor the moisture level. Add drier material or water to maintain the proper moisture level
  • Remove finished compost. If you add fresh material into the pile from the top, the more finished material will end up at the bottom. Finished compost is dark brown in colour, crumbly, lightweight and has an earthy odour. The origin of some material may still be evident but these will break down further after the compost is dug into the garden
  • Check out the video of these instructions on the Compost School Facebook Page
Helpful Hints

Break the materials into small pieces

Smaller pieces break down more quickly. Do it in the kitchen with a knife or scissors, or do it outside with pruners your lawnmower or a weed eater in a garbage can.

Cover food waste

Avoid attracting insects. Bury your kitchen scraps as you add them and top it off with a shovel full of soil. In winter when flies aren’t a problem switch to using leaves as cover material.

Save some leaves

During the summer months Browns or carbon rich material is scarce. Dry leaves add air voids to your pile, especially if most of your other material is grass clippings. The leaves' high carbon content will offset the excess nitrogen in grass and reduce odours.

Don't compost only grass clippings

Clippings tend to clump, compress and hinder aeration. Odours may be produced as excess nitrogen is converted to ammonia. An easier choice is to Go Bagless or use them to mulch your shrubs and perennials.

Don’t believe everything you hear

There are lots of myths around compost, and composting in our prairie climate is very different than in damp or hot areas. Check with us for the facts.

Let us help

Get fast answers to your compost questions:

  • Request a Compost Doctor:  Utility Services has a team of helpful Master Composter Recycler Volunteers who are happy to help you with your composting problems. Request a compost doctor at MCRP@edmonton.ca, or 780-496-5051
  • Try some tools and see some bins: Visit Compost School for helpful advice on finding the tools that work for you.
  • Problems solved: Call the Compost Help Line for advice anytime. 780-496-5526